SensoTimerST 6eco!ogic

智能水计时器SensoTimerST 6eco!ogicis based on the water demand of the plants and waters in a moisture-controlled manner with the help of a radio sensor.

TheSensoTimerST 6eco!ogic水在一个月ture-controlled manner and on demand. The sensor included in the scope of supply measures the soil moisture value and sends it by radio to theSensoTimer. The desired moisture value can be set in 5 stages. If the selected value is not reached, the watering automatically starts at the next set time. The detachable control panel and 5 operating buttons make the programming very simple. Up to two watering times can be set per day (max. watering duration: 90 minutes). Thanks to theeco!ogicfunction, the watering can also be delayed by 1 to 7 days. Manual watering is possible at any time. At the touch of a button the watering programming can be suspended for 24 hours. TheSensoTimerST 6eco!ogicis compatible with all known hook-and-loop systems. Tap adapter and prefilter are included in the scope of supply, the required 9 V battery is not included.

Features and benefits
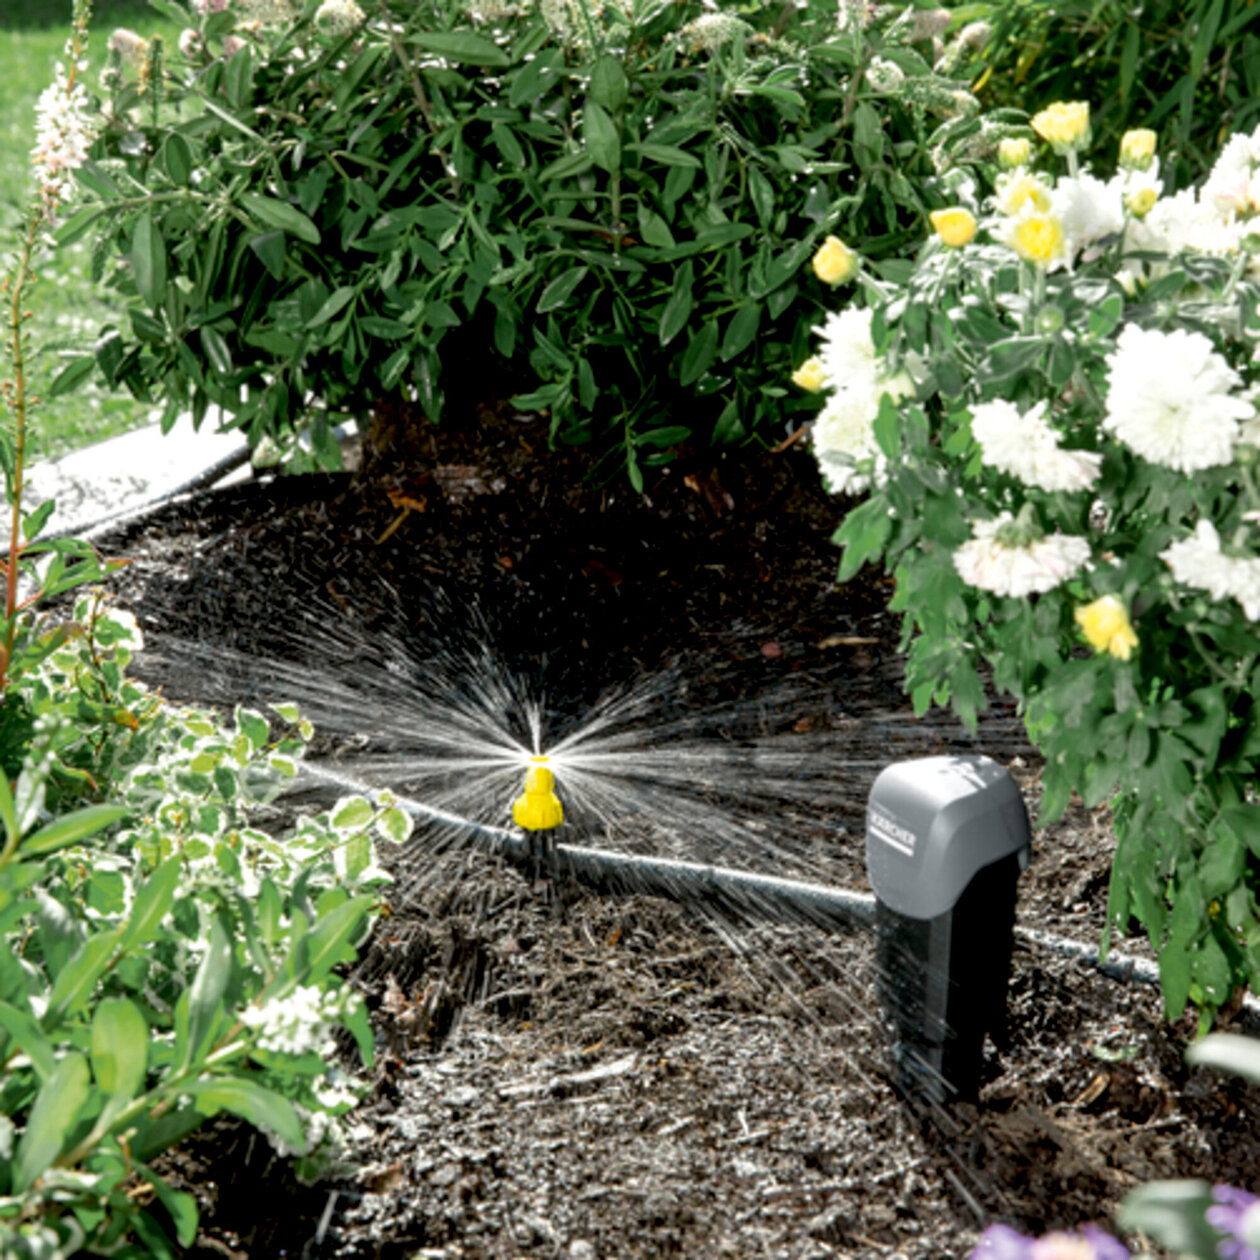
SensoTimer ST 6 eco!ogic: Moisture controlled watering
Moisture controlled watering
Efficient, water-saving and need-based watering of plants.
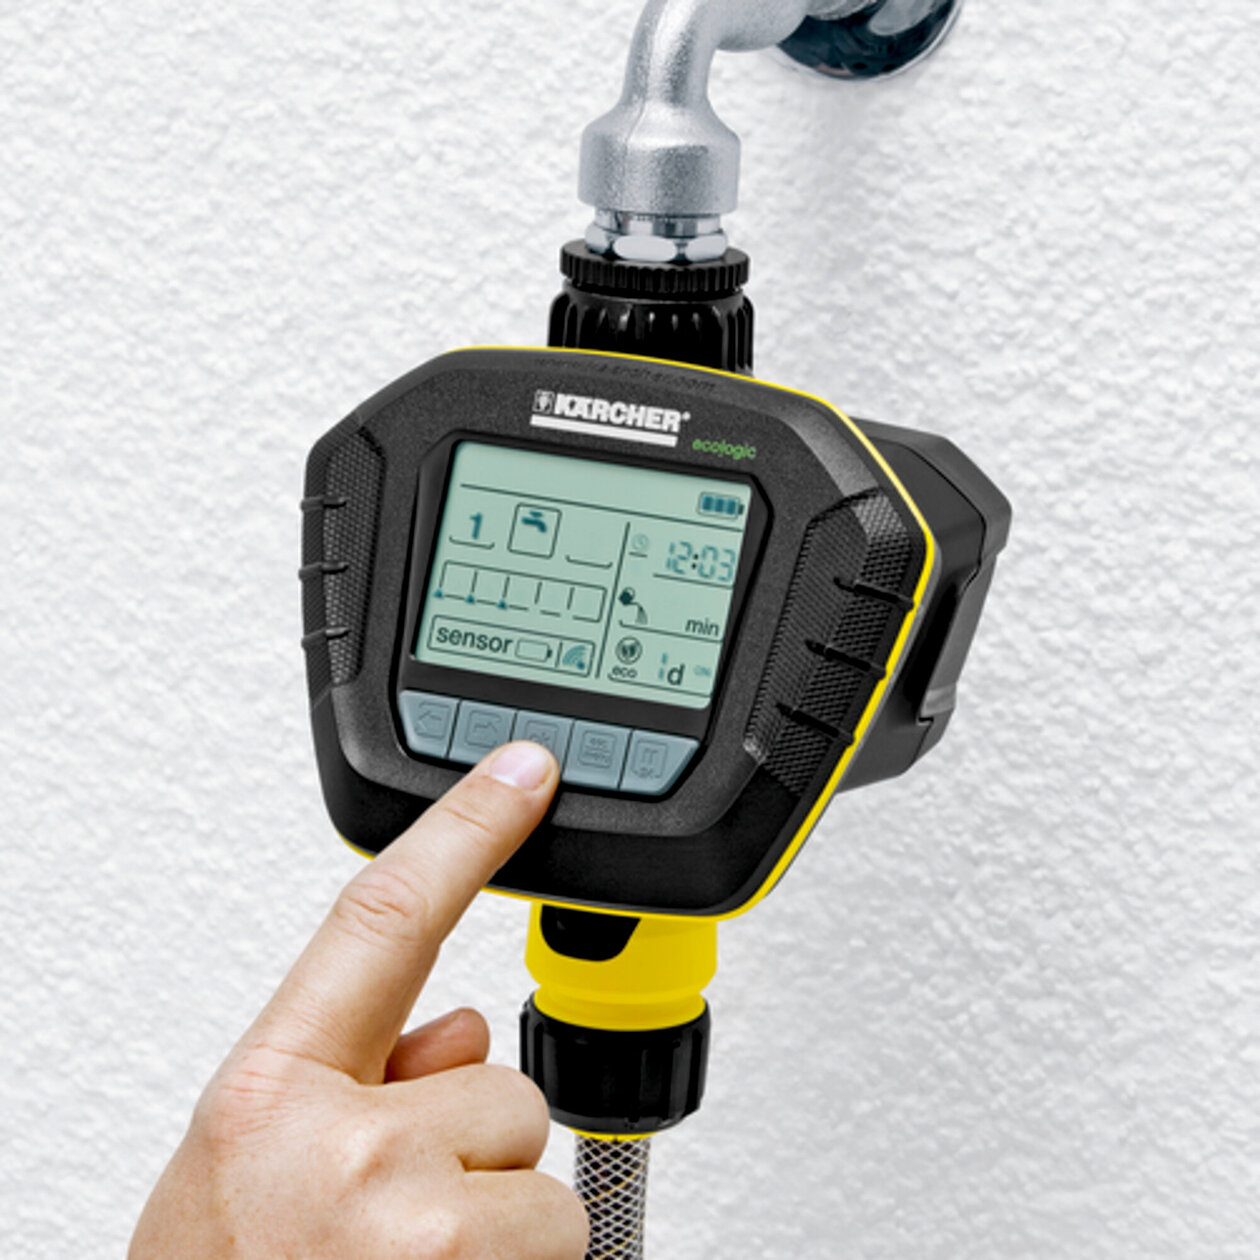
SensoTimer ST 6 eco!ogic: Individual setting of watering frequency
Individual setting of watering frequency
Need-based watering.
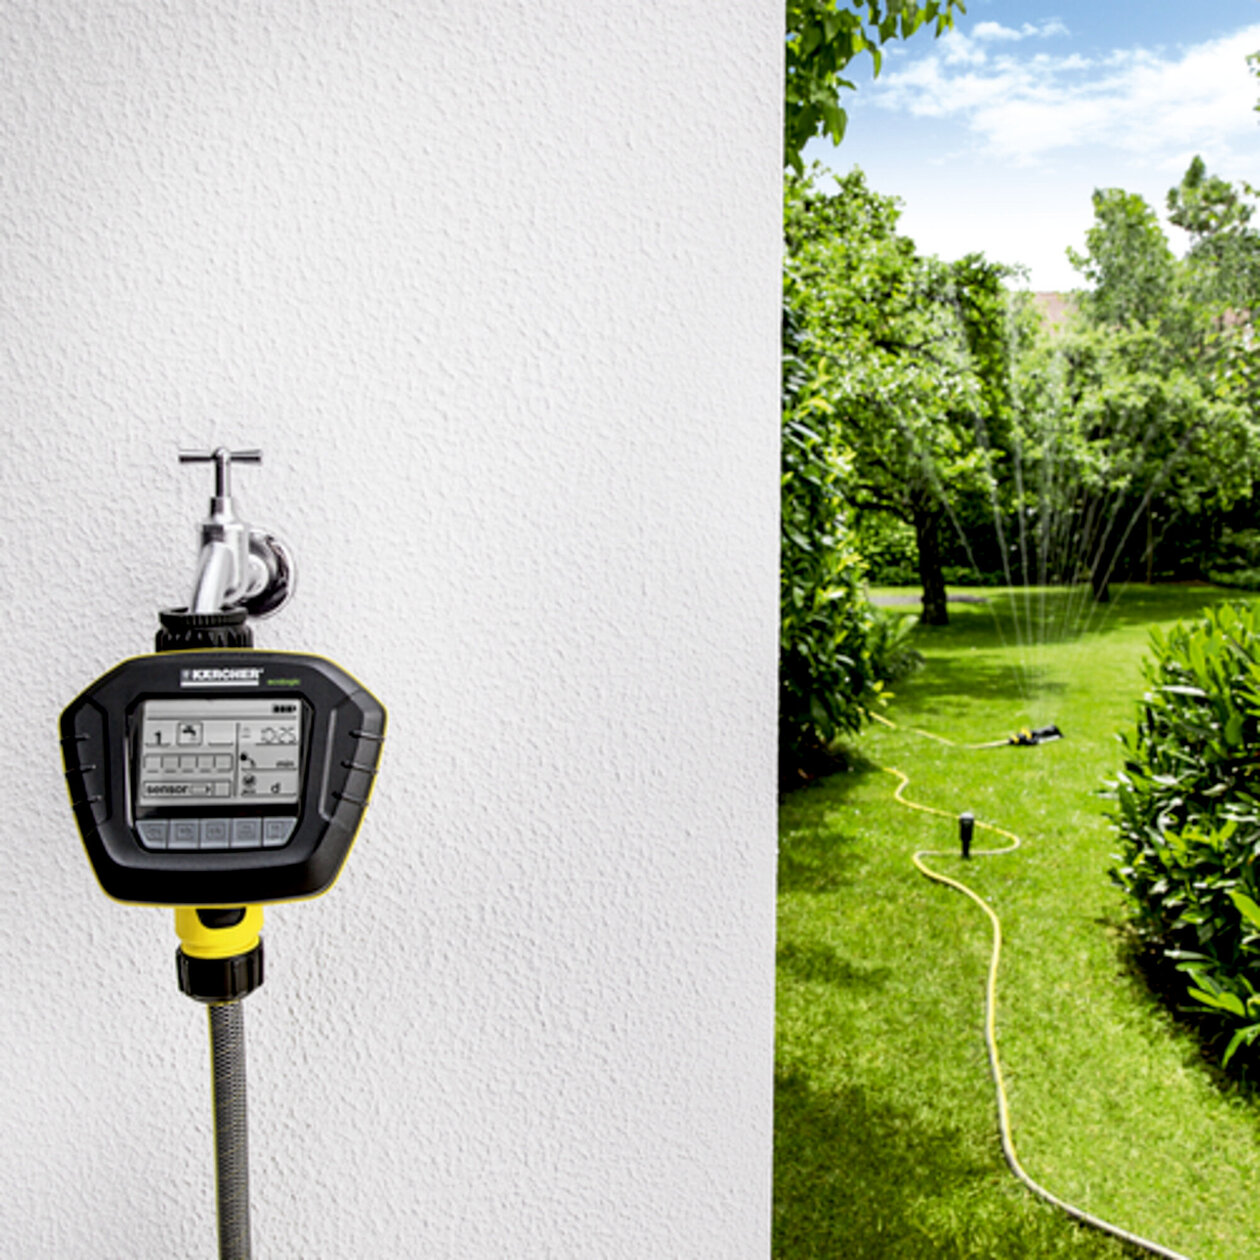
SensoTimer ST 6 eco!ogic: Automatic On/Off
Automatic On/Off
Targeted watering.
Removable display
  • Convenient programming.
Button for switching off watering for 24 hours
  • Deactivates watering for 24 hours.
Manual watering possible
  • Short-term water removal.
Specifications

Technical data

Connection thread G3/4 + G1
Max. pressure (bar) 10
体重(公斤) 0,6
Weight incl. packaging (kg) 0,9
Dimensions (L × W × H) (mm) 96 x 137 x 153

Equipment

  • Programmable water outlet, 1 piece(s)
  • Moisture sensor, 1 piece(s)
  • Batteries required
  • Batteries included in scope of supply, no
  • Number of batteries, 2 x 9 V Block
SensoTimer ST 6 eco!ogic
Videos
Application areas
  • Garden watering
  • Lawns, flower beds, vegetable patches, hedges
Accessories

Questions on theSensoTimerST6 ecologic

General Information Questions

TheSensoTimerST6eco!ogichas only one water outlet and therefore only one sensor, while the ST6 Duoeco!ogichas two outlets and two sensors. However, the same display is used on both models. If at first no second sensor is incorporated, no second sensor is shown on the display. This remains the case until theSensoTimeris reset.

You can easily install your timer directly to your water source tap or to a wall, running a water supply line to the desired position; recesses at the back of the timer make it easy to fix to a variety of surfaces. A manual-connection distributor can be installed on the tap, creating a free connection for manual watering.

The KärcherSensoTimeris well suited for operating an underground watering system with a high flow; perfect for gardens requiring a more discreet, automatic watering solution.

The timer can be easily used with the following devices from Kärcher: square sprinklers, rotating sprinklers, soaker hoses and the Kärcher Rain System garden irrigation system.

Sensor & Control Panel Questions

Place your sensor in the area that needs to be watered, in a central position to monitor levels but also ensure your desired watering area is covered.

Without any obstacles, theSensoTimercontrol console and sensor can be placed up to 100 metres apart and still be able to transmit information.

Each individual sensor has a unique signal connected to the control panel, preventing interference. We recommend using the set-up wizard when setting up for the first time.

Within an hour of initial start-up, theSensoTimerST6 sensor sends the humidity data to the control panel every thirty minutes.

Once you have entered all of the settings, you can check the functionality simply by dripping some water onto the white pad surface of the sensor. After a few seconds, the drops will appear on the display of the control console. The number of drops will normally rise to a full five drops, as the pad is very sensitive.

传感器和Control Pannel Functions

The factory settings will suffice initially, however the settings should be checked and adjusted according to the requirements of individual plants, in particular the triggering threshold for the watering. Any setting can be changed afterwards as required.

The display is updated every thirty minutes, when the sensor sends the moisture value to the control panel.

The level of moisture can differ depending on the type of soil. For example, potting soil can store water like a sponge and can feel dry to touch. TheSensoTimer, however, measures the actual moisture content of the soil which can be greater than what is perceived.

The sensor sends information every 30 minutes and a duration time needs to be set as watering could be active for 29 minutes, before the sensor could transfer the signal and the watering could be stopped as soon as the water reached the sensor’s pad. This way, the water can be gradually distributed equally in the soil.

Using theeco!ogicfunction, watering can be delayed by 1 – 7 days. This saves water and encourages plant root growth.
If the setting is at [ -d ] then the function is switched off and the watering starts as soon as the measured moisture level in the soil drops below the set triggering threshold.
If the function is activated, the watering will be delayed by the amount of time specified.

Example for a two-day delay:
assuming the watering was set to start on Monday at 8am if the soil moisture falls below the specified level, it has not rained, and a two-day delay was set, then the watering would not start until Wednesday at 8am. If it rains in the meantime and the ground reaches the desired moisture level then the watering would not start until the next specified time (assuming the soil once again falls below the specified moisture level). The time specified is delayed once again by two days.

Yes, simply remove the batteries from the sensors and the control panel and replace them after a short while. When restarting the operating unit, press and hold the OK button until all of the symbols appear on the display and the clock begins to flash. Once you have set the time, you can programme your watering schedule and place your sensor.

Troubleshooting

This means an error has occurred with your valve – for example, it could be blocked by a foreign object. Remove the battery andSensoTimerfrom your water source to look for foreign objects or rinse out. Reset the device by returning the battery and re-programme.

The wireless symbol flashes when the operating unit is searching for the sensor’s wireless signal. If the operating unit hasn’t received a signal after an hour, ‘OFF’ appears on the display. Press the OK button to search for the signal again.

The wireless symbol flashes, or the display shows ‘OFF’ when:

a) The distance between the sensor and the operating unit is farther than 100m or the sensor is not in its correct position. Check for obstructions and reduce sensor distance to resolve.

b) The operating unit is restarting. The signal is automatically found within 30 minutes, unless you have removed and replaced the sensor’s battery, in which case the signal is found within 1 minute.

c) The wireless signal is interrupted by another. Check for signal interruptions. When resolved the sensor will be automatically located in 30 minutes.

The control panel display can show ‘OFF’ for two reasons: your sensor battery needs to be replaced or the sensor’s signal is not working. If the control panel loses the sensor signal, it will automatically search for it and the wireless symbol flashes. If a signal cannot be located after an hour, replace your battery and restart by pressing OK to find the sensor’s signal.

The first thing to do is to check whether the sensor pad actually has contact with the soil. If there is no change, please refer to the information in the ‘planting sensors’ instructions.

Winter Storage

During the winter months, it’s best to store theSensoTimer在一个法文ost-protected space until spring. Unscrew the device from your water source and clean out using a manual water source. Remove batteries from the control panel and sensors and store. Do not leave your sensors or any part of your ST6 outside during the winter months.

Spare parts

Yes, you can replace your ST6 sensors if they become damaged.

For accurate soil moisture readings, we recommend replacing the sensor pad every spring. These are available for purchase.